Welcome

Welcome to my Art blog.
I Art for fun, relaxation, living and learning.
I teach painting, printing and collage workshops, all around Europe, and get inspired in so many ways.
www.timeouttravel.dk
I hope to inspire you on your own art journey-
Please enjoy, and create!
You will also find me on fb - Mixed media paintings.

Trine Pettigrew

fredag den 21. juni 2013

Recycle brown/white paper bag journal. Toturial.

Teresa Mahieu, a fb friend of mine, asked me to show how I cut the paper bags that I used for a journal, in a earlier post.
So here it is.

 I only had two.bags, I will add more later, but here is the general idea.

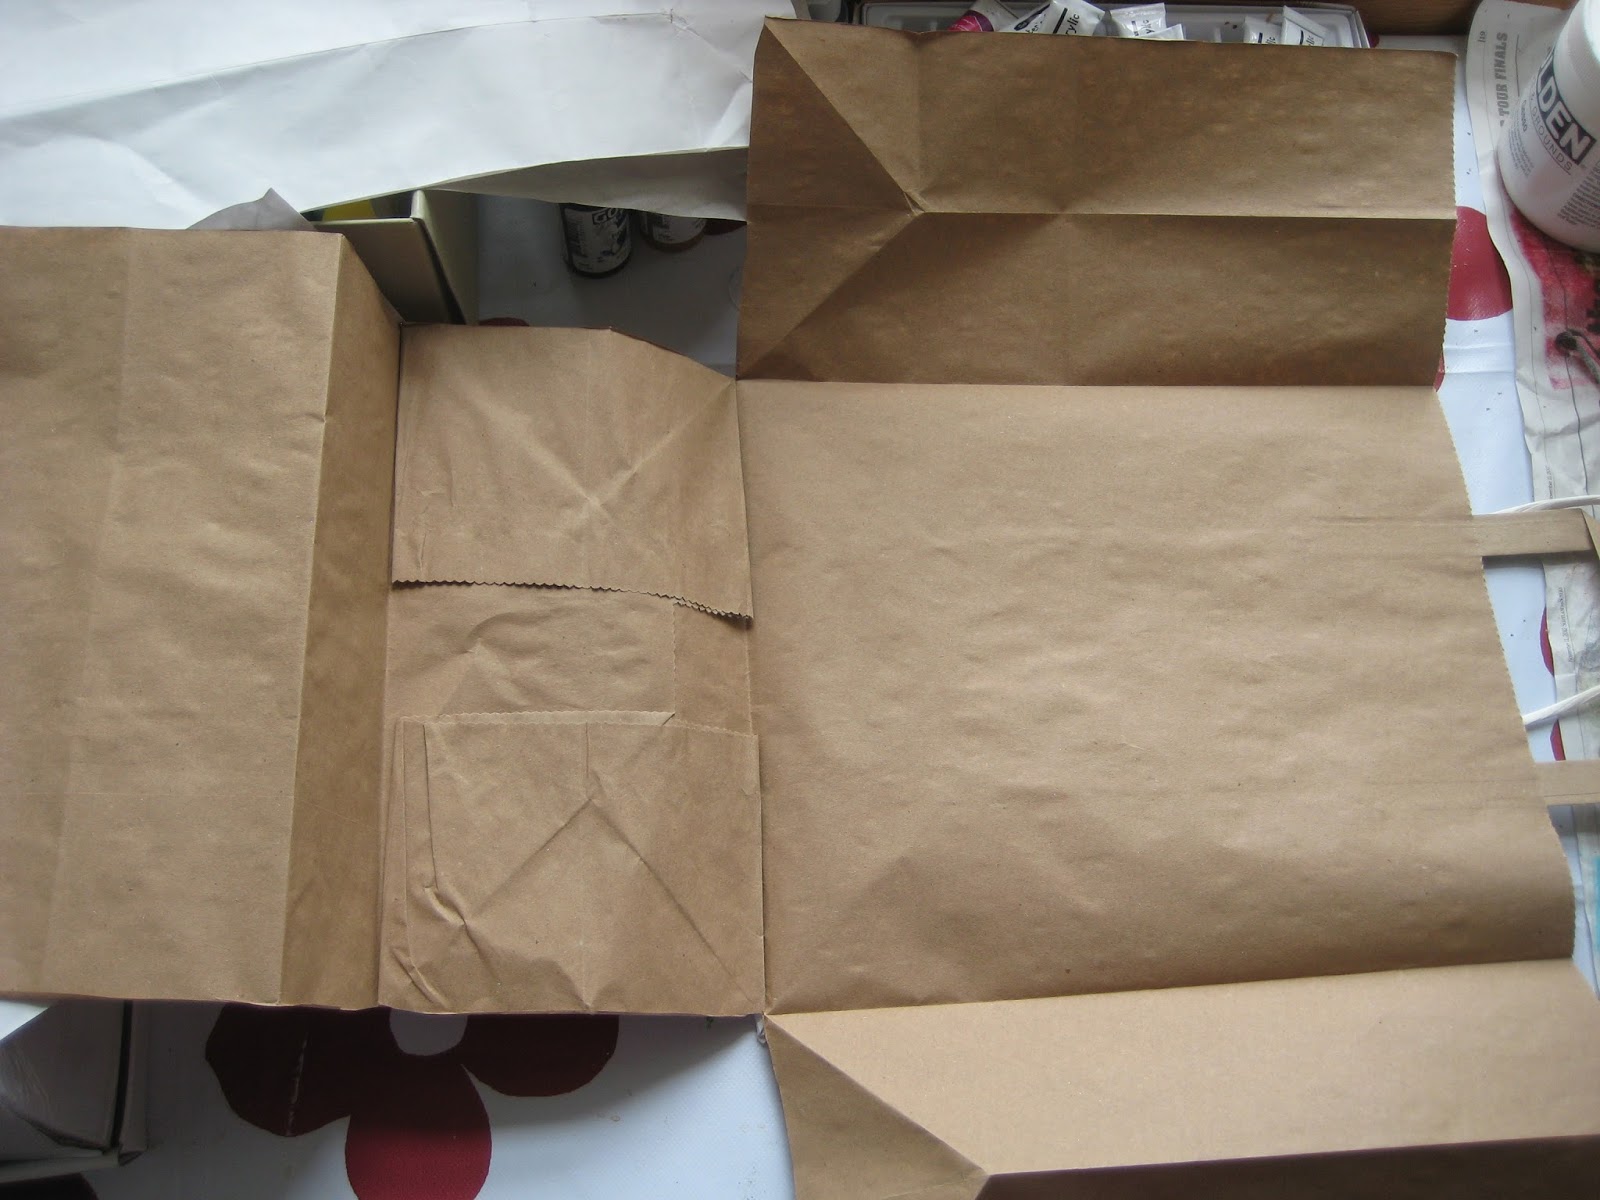
 Cut of the side panels.

 Then cut along the bottom, but only on one side.
As the bottom can act as a inside pocket.

 Both pieces folded in half, and the pocket showing.

 Place on top of each other for binding later.


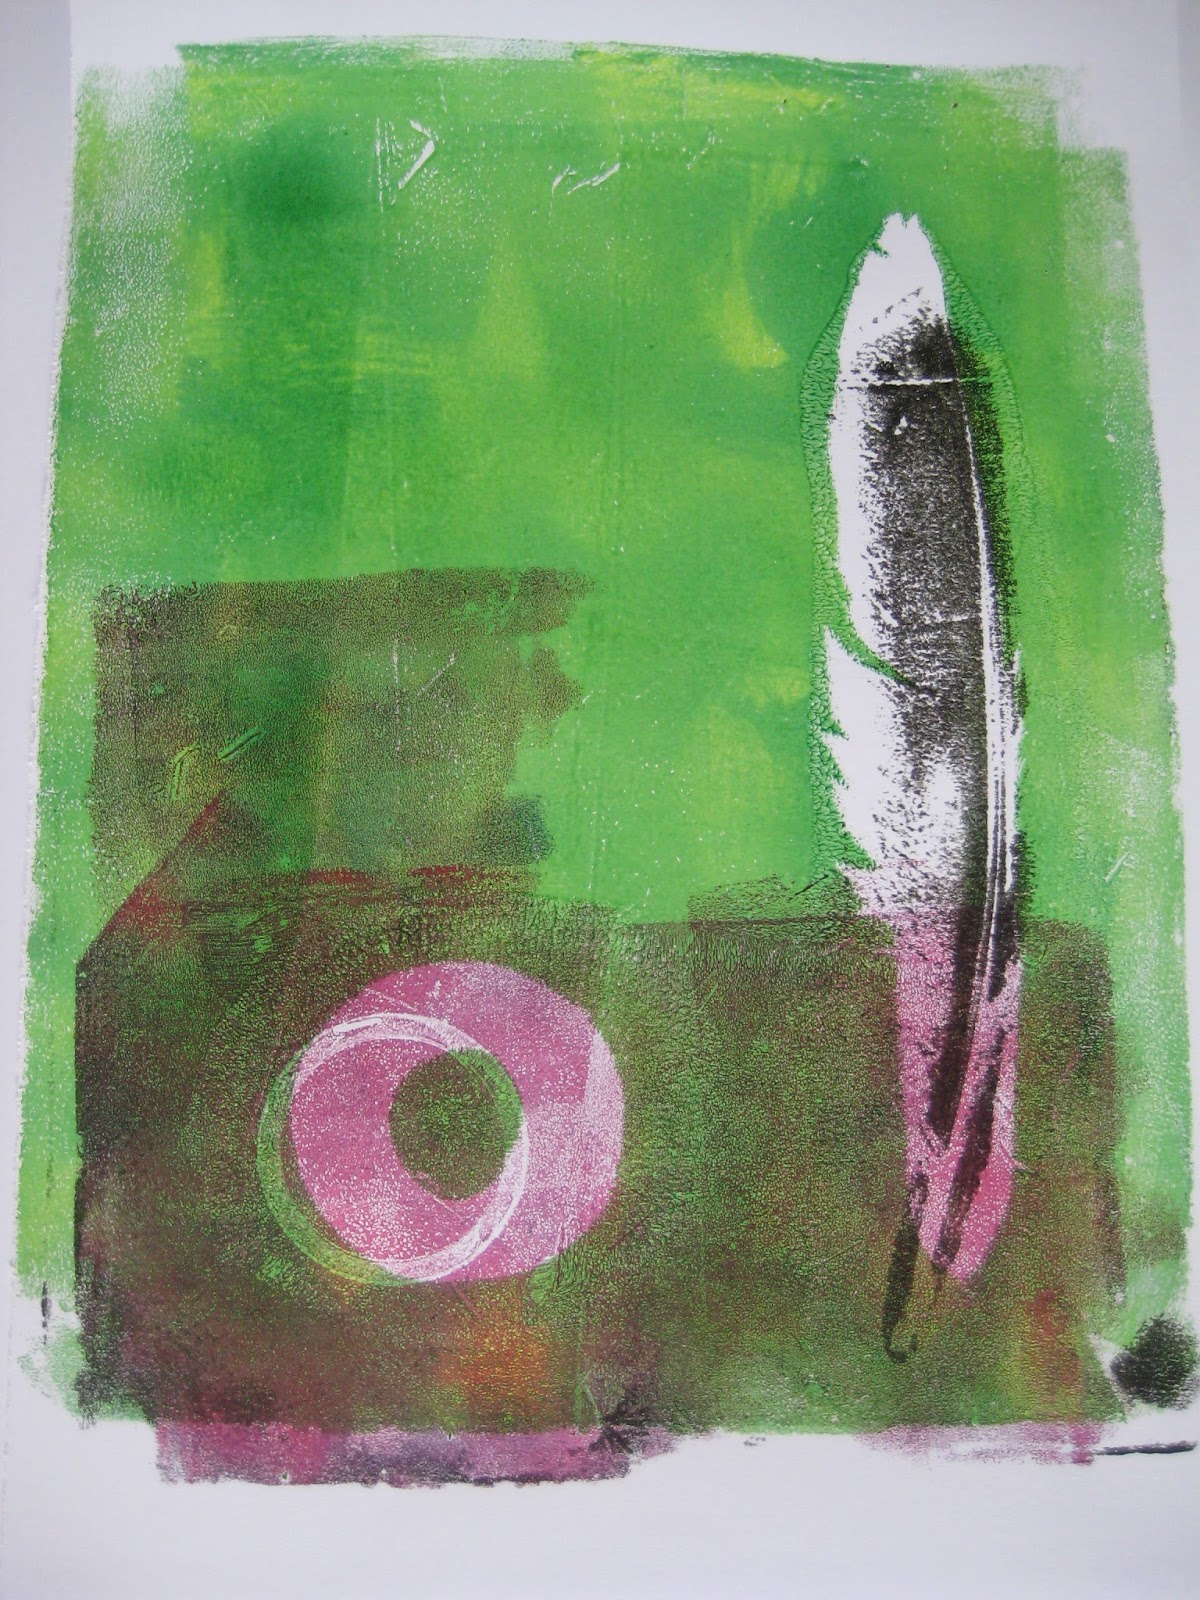
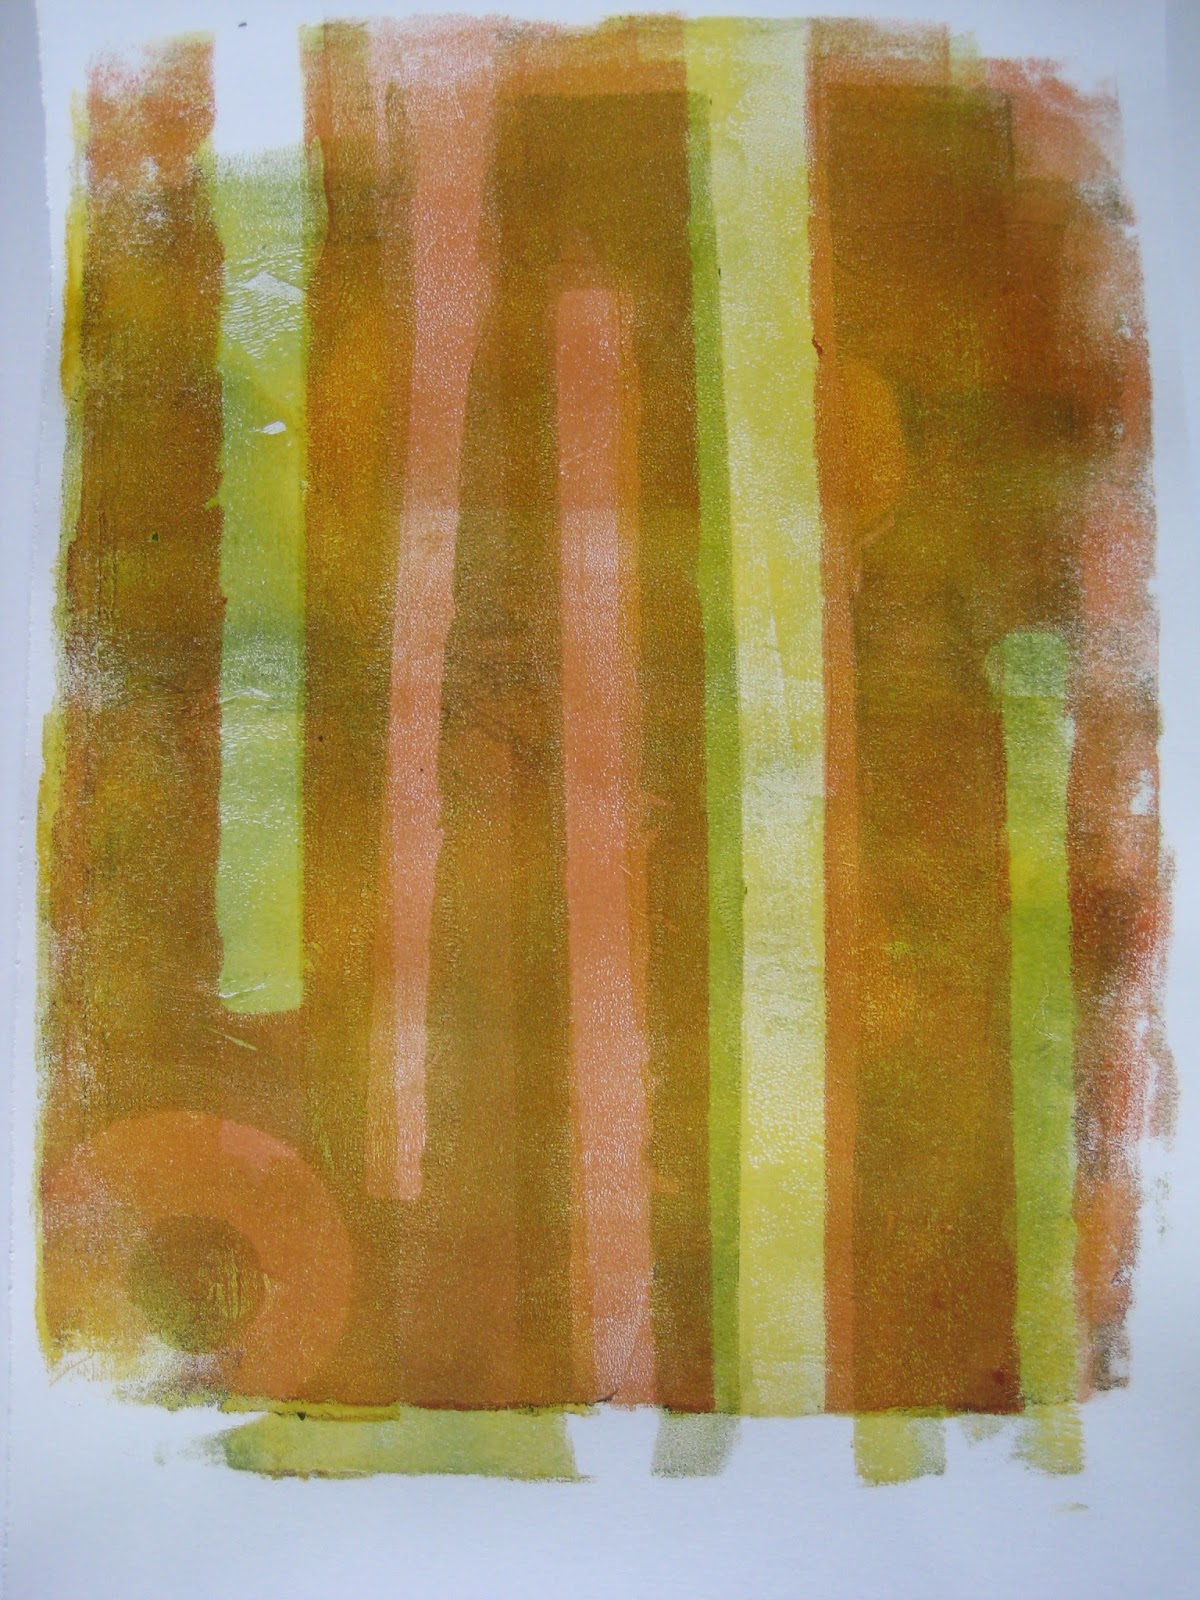
 Now, I had one white and one brown bag, but when Gesso'ed, no one will know :)
Cut the side panels as before, on one piece only, leaving the bottom attached.


 It then, again, folds over to make a pocket.

 Fold in half.

 On this side, I only cut of one side panel, as the other one will make a great pocket-

 -when folded up.

 Put all the "pages" together, in the way that you want the handles to turn.

 I stabled the bottom, to make the pocket.

 Same with the one side panel.

 And one more bottom stabled to make small pockets.


 All done. (Pretend that I had many more bags)

 Trim the edges, top and bottom, to make all the pages the same size.

 I thought that the cut off side panels should be put to good use as well...

 So I put them in randomly, and they will be bound sewn in as well as the pages, when I have as many bags/pages as I want.


 The pocket.

 I cant deside to have only the white handles, or the brown also...

The inside pocket, made from the side panel left on the page.

Now I just have to go shopping...to get more bags. Then I can bind them all, and a new journal is born.

Workshops 2013

I started February 2013 on a teaching note. And have continued to do so through the year.

A Painting weekend workshop in Copenhagen.
Such a nice group of girls.


Then it was off to Gussago, Italy. Here I tought a Collage workshop, for a group of very hard working girls :) It was a great experience.


I could'nt have done this one, without the huge help in translating, from my dear friend Letizia.
I hope to go back, it was a great place to "play". Thank you also to Sabrina at Hobby di Carta.

Back to Copenhagen for another painng workshop. Again, lots of fun and new inspiration.


A great excersice, in which "Ittens" colour wheel were worked through, together with perspective and lines. Back/middle and forground was a big eye opener for most of the girls, and many a ahhhhh....was heard!
I think that it is so interesting, to see the same painting, motive, done by 6 different people. The temperaments, moods and colour choises coming out.
Thank you to all my participants.

Next stop Canada.
Here I will be teaching one Collage and one Printing workshop.
Cant wait to meet all the new people, and get loads of inspiration for next years workshops.

Three new paintings.

After having had a great exhibition in Copenhagen, I have had to add to the pile of paintings. That is always a good sign :)
Changed the colour scheme, and made three Blue/Violet paintings.
60 x 80
Acrylic and ink on canvas.
"Which way to turn"


60 x 80
Acrylic and ink on canvas.
"Flying backwards"

60 x 80
Acrylic and ink on canvas.
"Letter"

Gelli Printing on bought plate.

I have fallen in love! Like so many before me, in The Gelli printing universe.
I started out, making my own plate from normal Gelatine powder and water. And I loved it!
It wears out though, and need re-melting, but the prints I got from it was great.
I do love my feathers, and the mono printing effect, especially the Ghost prints, the second pull, are my favourites.
But, I needed to compare the home made plate, to the store bought ones, as I am teaching this August in Canada, so a little first hand experience was needed.
I got the plate, and off I went.

Goldens fluid acrylics and a foam stamp, that I "borrowed" from my sweet friend Maria.
Okay, not to bad, lets try a feather..
I am not convienced....
One more try-
Tore pieces of paper and used as templates....

I dont know if I am just to "old school" or I got so used to my homemade plate, but I am not 100% in love with this one!
BUT - and there is always a BUT! I made a discovery that made me happy!
Crumbled up tissue paper, now this I do love the look at.
And then there is always the very last pull, with all the resedue from a long printing session, that turns out wonderful, and that you could never do again!
So okay, this plate do have its moments.....but, I shall head for the store and get stocked up on Gelli powder, as I do prefere the homemade plate. But I gave it a try, and I do love the easy cleaning and storage of this one, and I can travel with it!!

Brown paper bag journal

What do you do with all those recycled brown paper shopping bags in the cupboard???
I made a journal.
The brown paper is excellent for putting layers of Gesso and paint on, So thats what I began with.
I binded the cut up bags, left two handles on for fun, and started gluing some left over Geli prints in.

Then I covered all the pages with Gesso. Makes them nice and tough, ready for all the glue and paint.
Little pockets present them selves, and perfect for little tags etc.
 
Template and spray ink, and still room for writing later on.
 
 
Inside cover.
 
Front cover. Left over paper templates from Geli printing.
 
 
Ready to be filled with loads of goodies. Feels good to have made good use of an everyday object.